Today (30/09/14) was my first day as a second year student at the University of Northampton. I felt very nervous to begin with, but once I arrived I was more excited. The fact that I was in year two already, and one step closer to completing my qualification, made me much more motivated to begin.
Today I also met the first year Architectural Technology students, who I was nervous but excited to meet.
Find here the link to our project brief; year two brief 2.1 v23.09.2014.pdf
For my first design project I was to create a group with a few of the first years and a few of the second years. It was great to be able to work with people who are new to the course, but share the same interests as me. Our brief told us that we were to design and construct a bridge, after given specific requirements. The structure was to span 1.5m. We were only allowed to use the amount of material we were provided, and strictly no other glue or adhesives were to be used. The group that held the most weight when it came to the load testing day were to win. I have also got to blog throughout this (and all future) projects and keep records of my progress. The task was challenging to begin with, but once we got a few ideas together it became fun.
The brief contained the specific materials and requirements to design and construct our bridge.
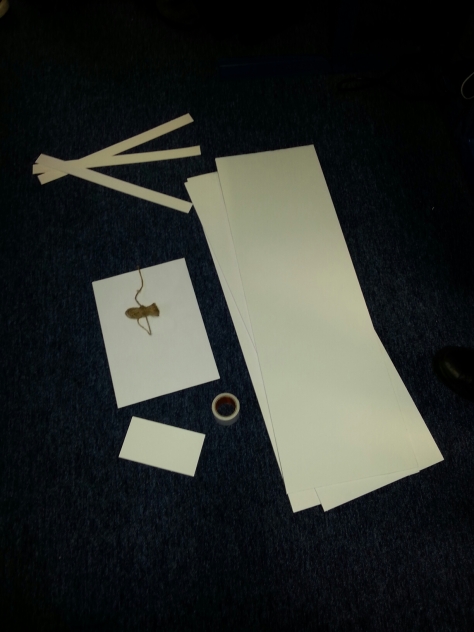
The materials and quantities of materials we have been allocated are as follows:
– 3 x 250 x 800 x 4mm double sided foam board with additional 0.1mm paper layer (recycled)
– 1 x 4000 x 2.5mm thread
– 1×500 x 50mm double sided tape
– 4 x regular 90g A4 printing paper
– 3 x 30 x 420mm 1mm cardboard
– 1 x 150 x 80mm central foam board plate for holding the weights (compulsory)
I am looking forward to seeing what ideas my group come up with!

